
Browsing through my photos I found scans of a mini album I made way back.
To create this album I used card board, cut it in a rectangle and than cut of two corners. Used the first page as template to cut all the other pages and all the papers I planned to use. Adhered the papers and than
painted all the outer edges with Tempera paint (used Tempera Paint, because that's what I had handy).
Album cover

To create the front cover I accordion folded a strip of paper and glued it on top of a flower, to make it really 3-D. Added a rub-on saying, brads, mini flowers , tags and paper clips.
Pages 1 and 2
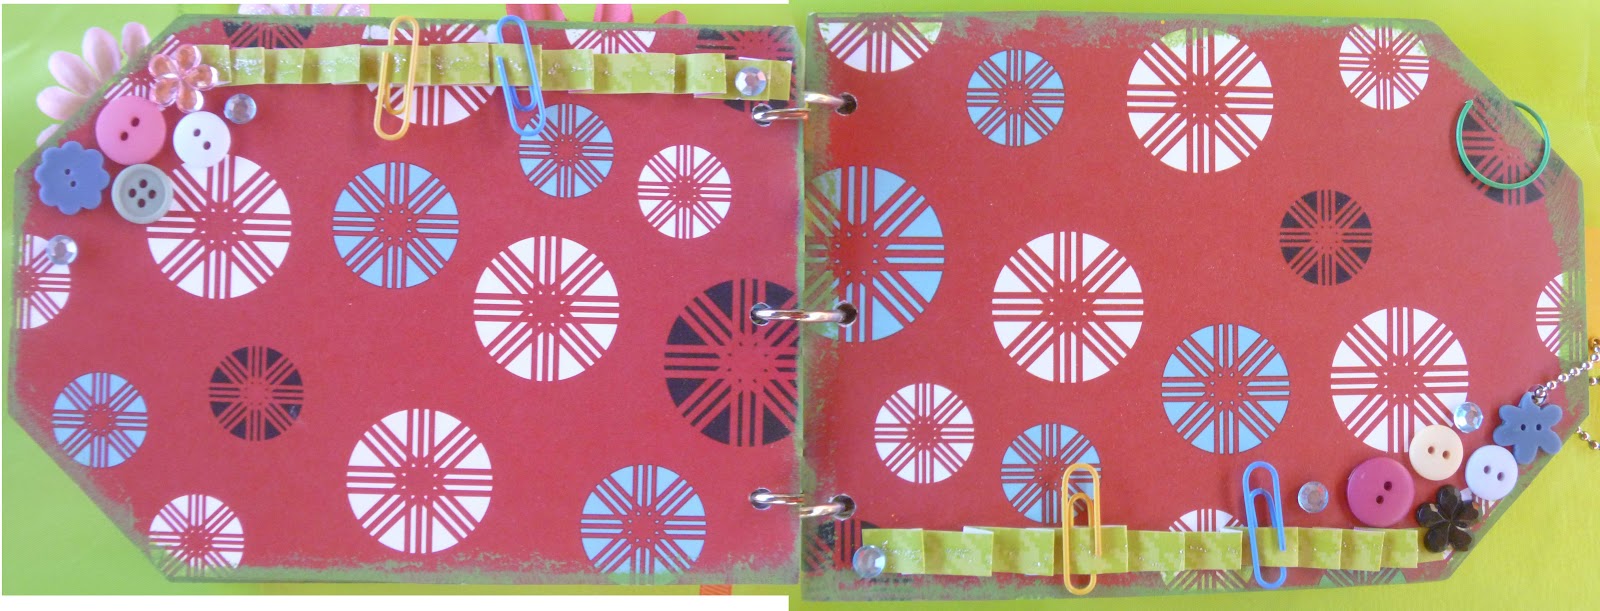
Now keep in mind that all the inner pages are designs to add photos and maybe a bit of journaling, so on each page I left enough open space.
Very simple design here. Just cut a strip of paper, made some uneven accordion folds and glued it to the top of one side and the bottom to the other side, added some buttons and paper clips and done :)
Pages 3 and 4
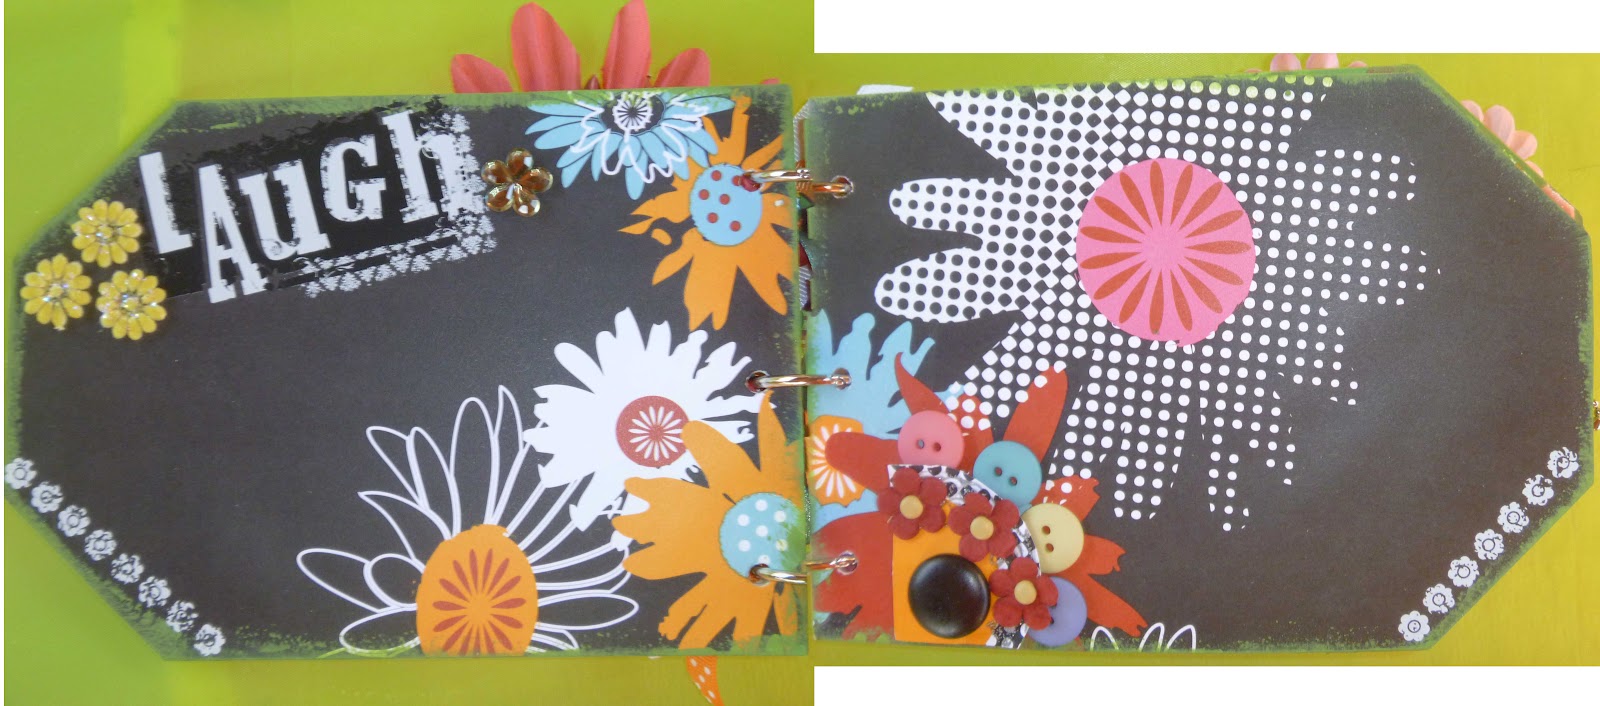
These are very simple pages. Just added a rub-on saying and some flowers to one side, and buttons on the other side.
Pages 5 and 6

Again used some rub-on sayings to create some interest I cut a piece of card stock and added a couple of flowers with a flower gem on top. I also added some glitter to the petals of the flowers. Used a simple chain to connect the tag to the page and than glued the tag to the page, so it wouldn't just hang out. To the bottom of both pages I just twisted the ribbon around, adhered it to the pages and added some buttons.
insert between pages 5 and 6

To add some fun I added a clear tag in between the pages and treated this tag by adhering a 2-sided paper and than painted some Tempera paint to the outer edges. One side I left blank and the other side I decorated with a rub-on saying, flowers and a brad and added some glitter.
Pages 7 and 8

When I cut this paper, I made sure that I cut it so that the sayings would fill one page, just for fun :) The only thing I did here is add a rub-on saying to the left page and some flower gems.
insert between pages 7 and 8

This time I treated the insert by painting on one side. Since it is a clear tag, I didn't had to paint both tides. Again decorated only one side with rub-on sayings and decided to not add additional 3-D stuff, just to leave it flat.
Pages 9 and 10

Very simple pages. added some brads to the flowers and adhered them to the paper with glue dots (I rarely poke my large brads through papers, I just use glue dots to fasten them). The words I got from a piece of paper, decorated them with glitter and added them with foam stickers to have them pop up a little.
Pages 11 and 12

Used stickers this time, some buttons, flower gems and rickrack.
Pages 13 and 14

Adhered to the outer edges some stickers with sayings, cut out some words from a piece of paper, decorated them with glitter and adhered them on top of flowers this time.
Back Cover

On the back cover I went a bit crazy with flowers, gems, stickers and a tag.
Mini albums are a great way to use up some of your left over stuff, while at the same time, they make a great gift!
No comments:
Post a Comment